As you know, because I’m always moaning about it, cartoons are a really labour intensive form of artwork.
Back when I first got into comics, I’d draw directly onto the page with pen. “The page” was often the back of an A4 letter, or a cheap pad.
Sometimes I hadn’t even figured out the end of the strip when I was drawing the beginning. But that’s ok, because it was the days of Riot Grrls and photocopied zines and so many people *weren’t* drawing comics that you were way ahead just because you were.
The end result was a strip in which there might be some pleasing parts, but where there would always, always be at least one frame that made me cringe. The only thing this ‘method’ (if you can call it that) has to recommend it is that it’s quick – but as we all know, a little preparation goes a long way.
Time passed and I got a little more ‘fancy’ (ha). I started drawing my strips out in pencil first, then drawing with pen over the top and erasing the pencil lines.
This obviously has the advantage that you can rub out and redraw if your first pictures don’t look quite right, all before you start inking. You can also start thinking about layout and composition across the whole page, while you still have time to incorporate any great ideas that may crop up.
But there are disadvantages to this method, too: smudged ink, or pencil lines that just won’t erase, no matter how hard you try. I started drawing this way long before computers and Photoshop came into my life, so it’s not as if I could tidy things up digitally, either.
It’s really only relatively recently that I have refined my comic-drawing process. In part, I have to thank generous artists like Sarah McIntyre and Dan Berry, who talk a lot about their own processes (and in the case of Dan, produce a podcast talking to many other cartoon artists about their processes). It’s all gradually sunk in.
I’m working on a piece at the moment which, by the end, will have gone through, let me see… nine different stages, I think. Let’s count them out.
1. The initial idea
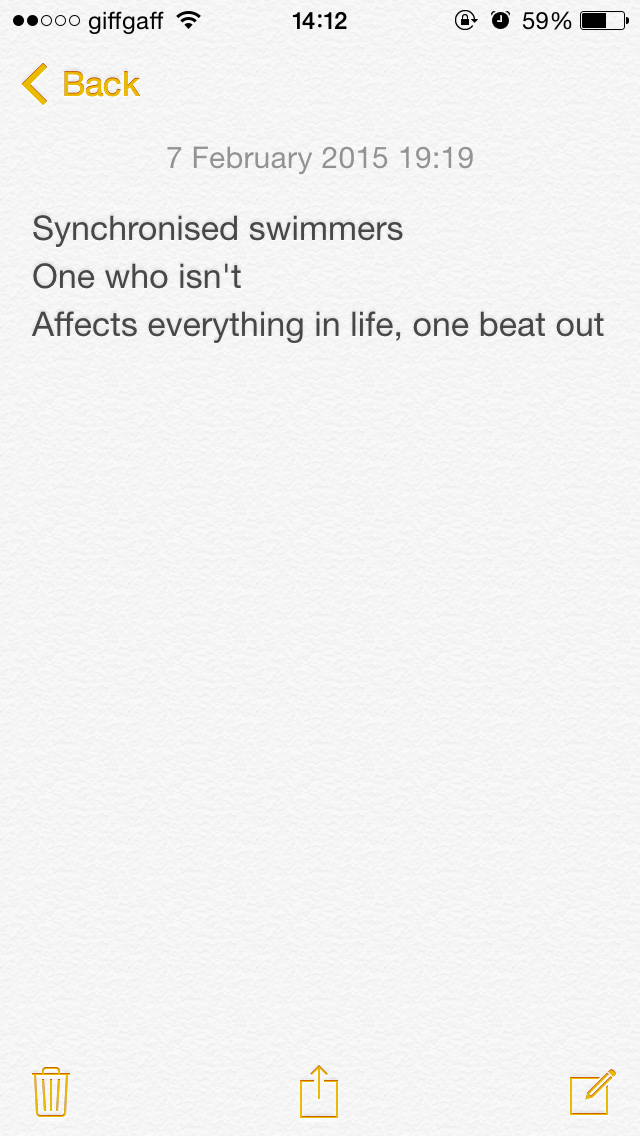 Inspired by a vintage photo I saw, I decided I wanted to do something around the idea of synchronised swimming.
So that I wouldn’t forget it, I noted the idea down on my phone.
2. The script
I knew I wanted this cartoon to be four pages long. I knew I could make the story fit nicely into that length. But how do you get from a subject and the desired length to an an actual script?
In between steps 1 and 2, there’s a period of time which consists of forcing myself really hard to think about the topic until a story pops to the surface. I think the last two lines of that note on the phone came later, during this process.
Writing the script down is a way of consolidating the story and making sure it can be spread across the length of cartoon that I want to make.
3. Character studies
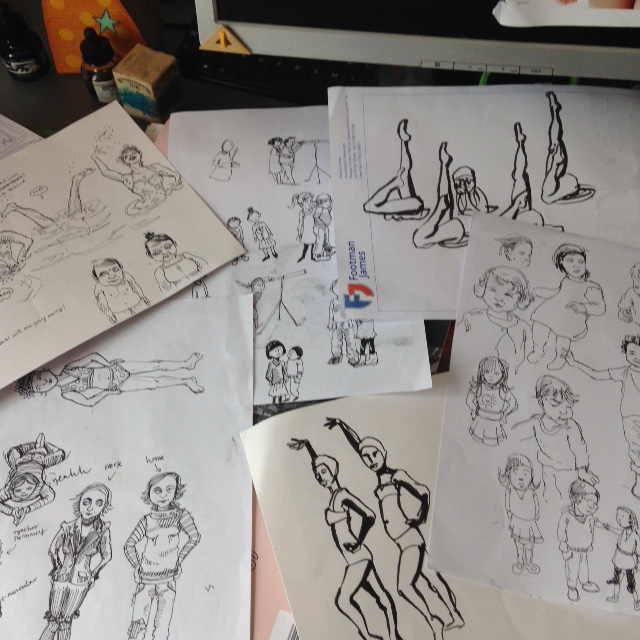 I’m a bit impatient about this stage; once I have an idea, I often want to dive right in.
But drawing your characters (in many different ways, often, and then you pick the look you prefer) is a really useful step.
It means that their faces or hairstyles won’t change as the cartoon progresses, because I’ve already made all the decisions and I’ll have my studies to refer to from the very off.
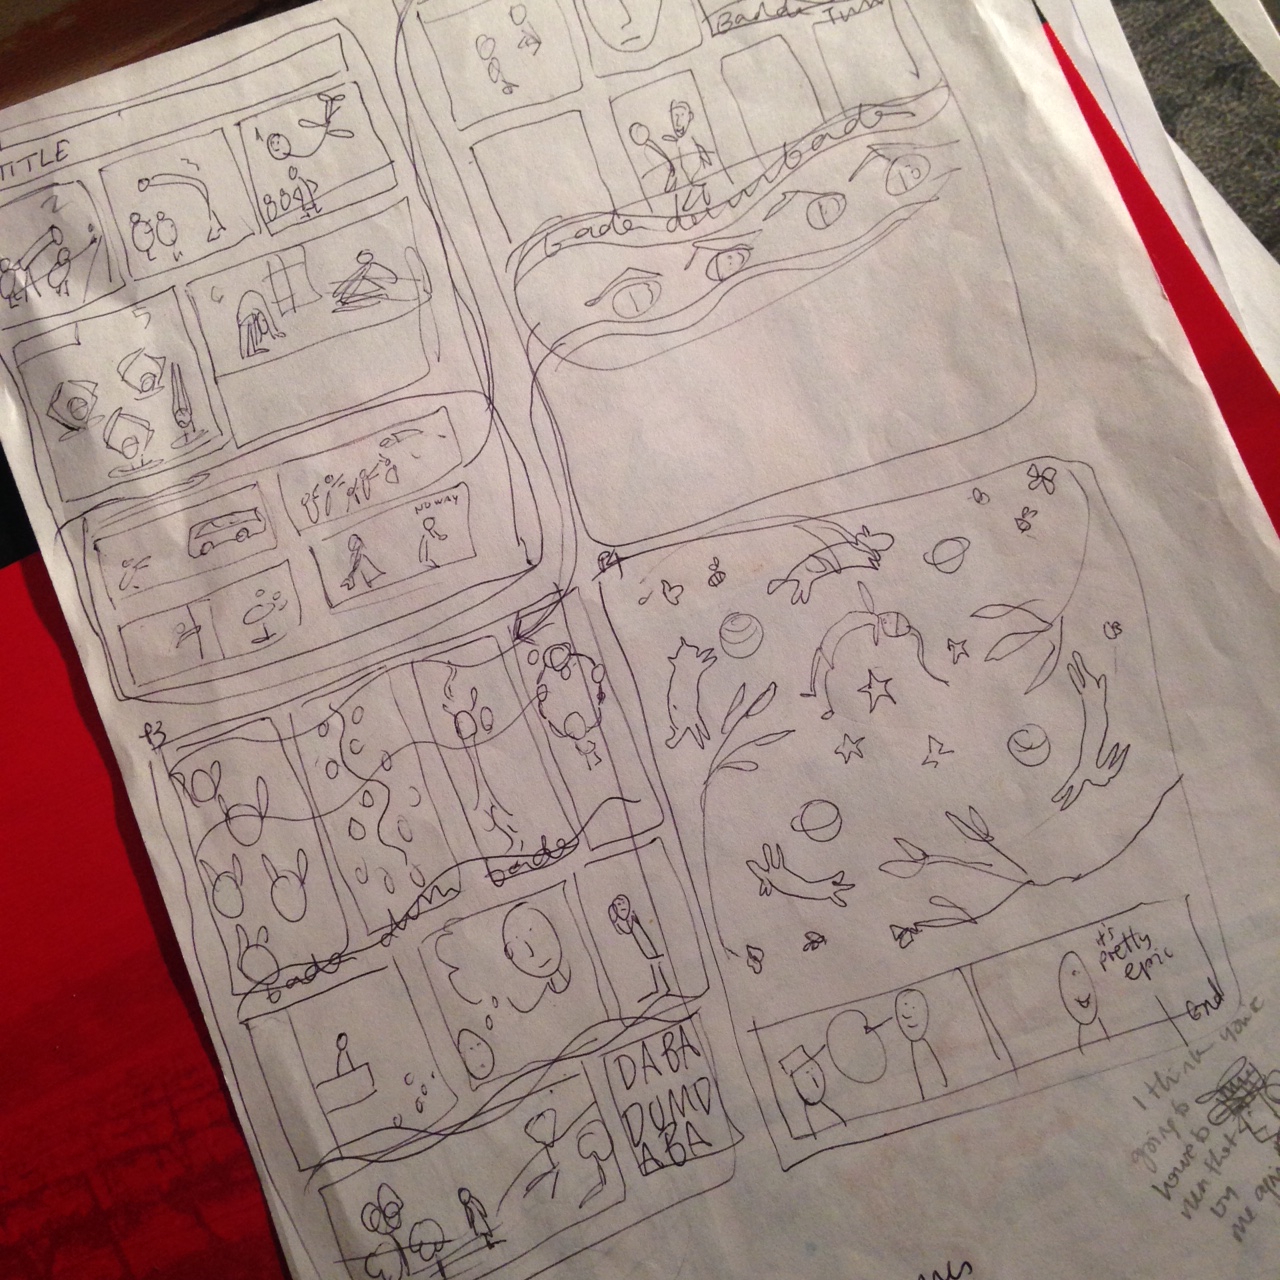
4. Thumbnails 1
 I think that this is one stage more than most cartoonists would do, and it does annoy me, but it turns out this is the way I have to work, and so be it.
First, I take a biro and a really scrappy bit of paper. This is a psychological way of telling myself that it’s fine to make mistakes, which I seem to need.
I already have the script I wrote, and that has pretty well divided the story into pages and frames within each page. What this first set of thumbnails does is help me make sure that those divisions are right.
This would also be the time to figure out any fancy layouts: not that there are any in this particular piece of work, but, say there was going to be a big plane flying across the page, or a large boot stomping down, now is the time I can work through all the difficulties I’ve given myself with that decision.
5: Thumbnails 2
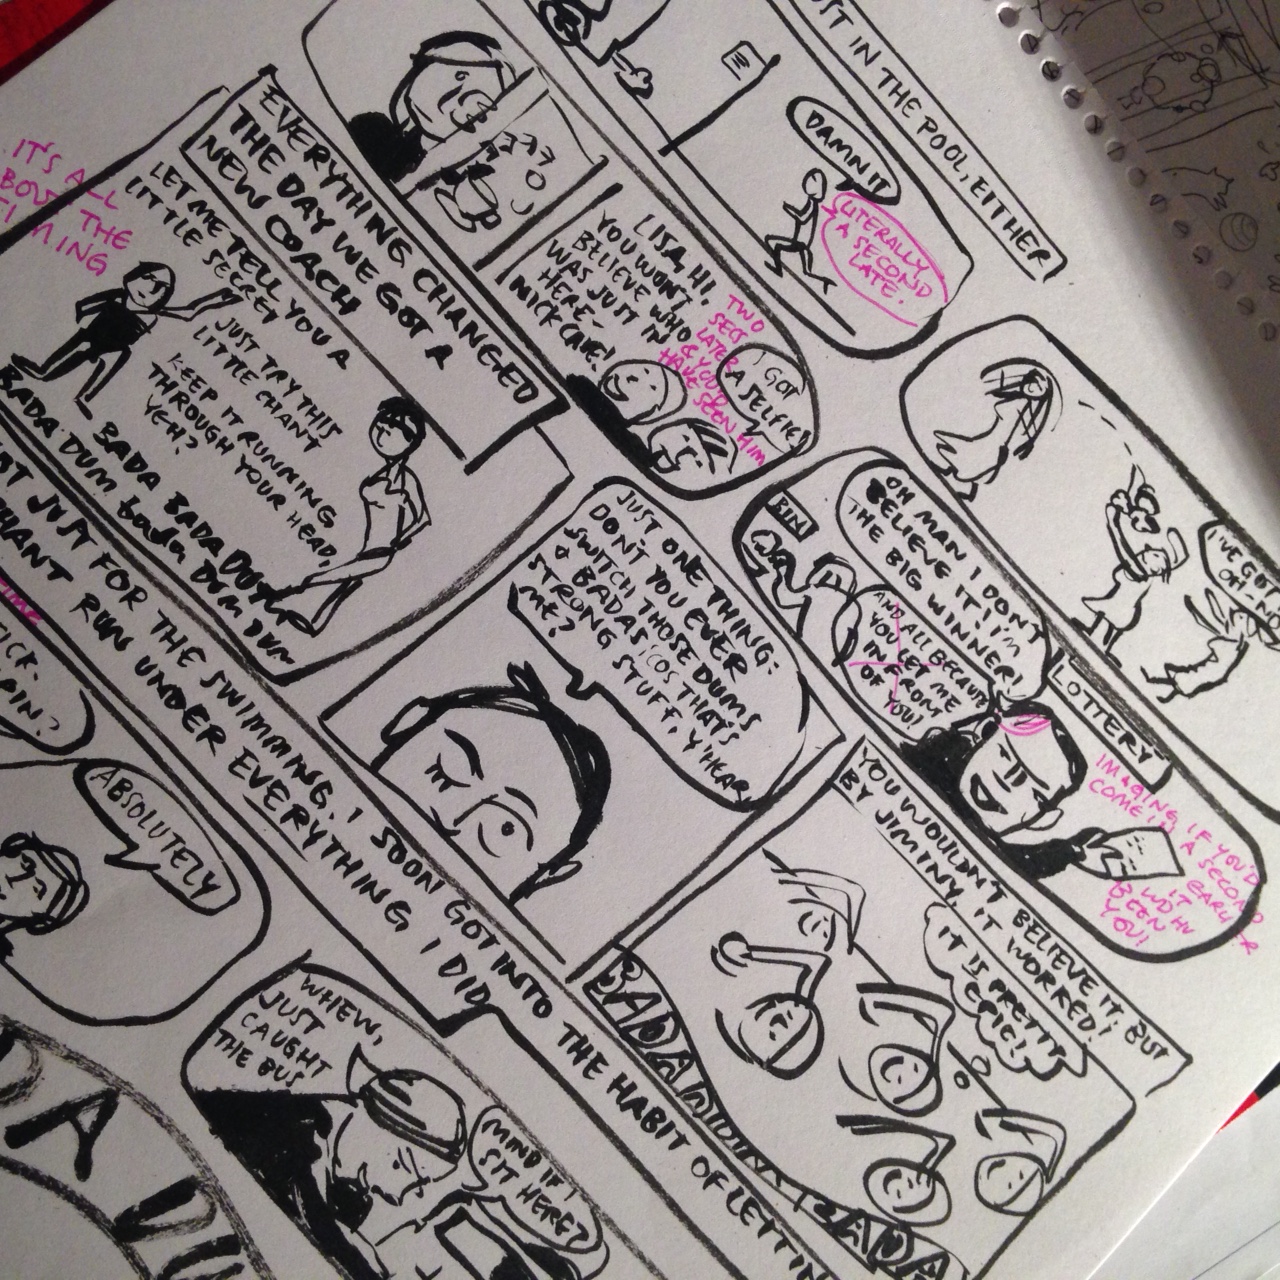 My second set of thumbnails is larger, and transposes these decisions (which often contain lots of scribbling and notes) into a more coherent page. I use a big felt tip or a brush pen, again just to try and concentrate on basics rather than fine drawing.
At this stage I’m also trying to ensure that any words will fit into the speech bubbles and frames I’ve allocated them.
And, once that’s finished, I hunt down my husband and (if age-appropriate) my daughter and I read it through to them. If it makes sense to them, great. If they have questions, I know there’s still work to do.
6: Pencils
 Now is the point where I have to measure pages, frames and margins and make sure the finished work is going to be the right size for whatever printed medium it will end up on (I might work 1.5 size or even double size, in which case there’s even more maths involved).
Drawing comics continues to be a learning process for me, and this time around I added two new practices that I hope will pay off.
First: after drawing the first page’s outer margins, I stuck it on the lightbox and traced the other three pages, so I know they will be exactly the same size.
For some reason, no matter how carefully I measure, I *always* seem to end up with differing size pages (I blame the ruler, which is obviously changing length while I’m not looking at it), so hopefully this will see the end of that for good.
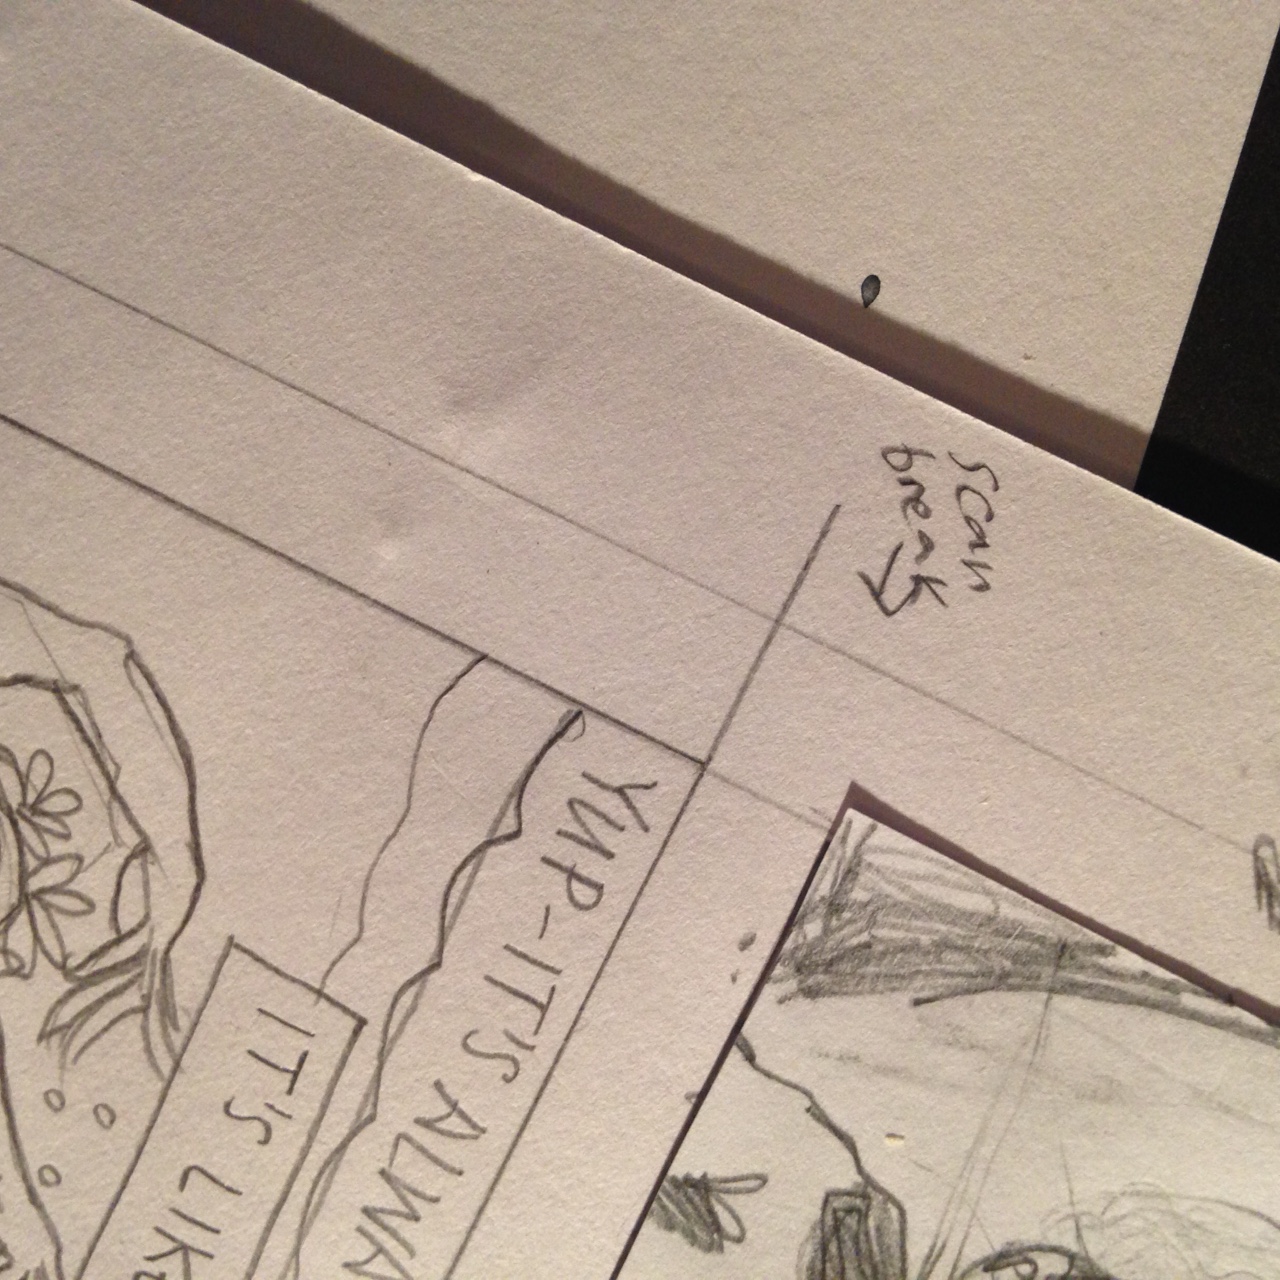
Second: Long-time readers will know that I’m forever moaning about trying to scan, and then fit together, pages that are larger than my A4 scanner.
This time, thinking ahead, I made sure that every page has a good clear break somewhere within the zone where A4 pages (ie, the size of my scanner) overlap. Hopefully, this will mean that I can scan the page in two goes, crop to this clear line, and fit them together without my usual issues of trying to precisely fit the page together in the middle of a figure or a piece of text.
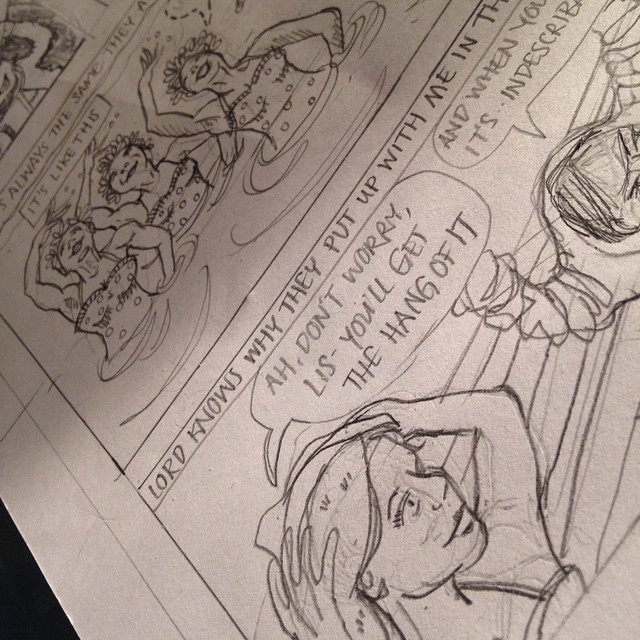 Once the margins are drawn, I start drawing the cartoon in pencil, in its entirety. I do this on a page of not-so-good sketch paper: it won’t be seen, so there’s no point in wasting the expensive stuff.
Notice that this was the *very first* thing I did in the olden days. So everything that has come before represents just how much longer the process is now. It’s worth it though. My cartoons still aren’t as good as I’d like them to be, but they look a whole lot more professional.
I’m not the sort of artist who can always summon up figures and poses off the top of my head, so there’s a lot of rubbing out involved, and sometimes I have to google for images as a reference.
Sometimes there’s so much rubbing out involved that I have to start a frame again on a new piece of paper – the beauty of this method is that I can.
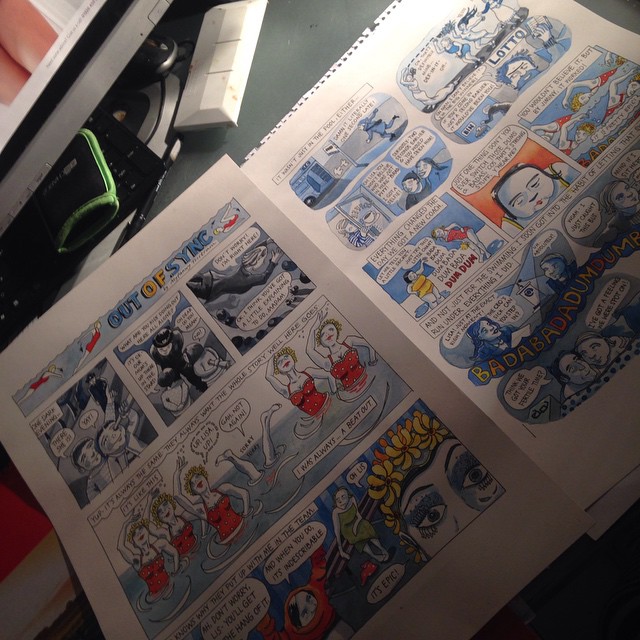
7: Line
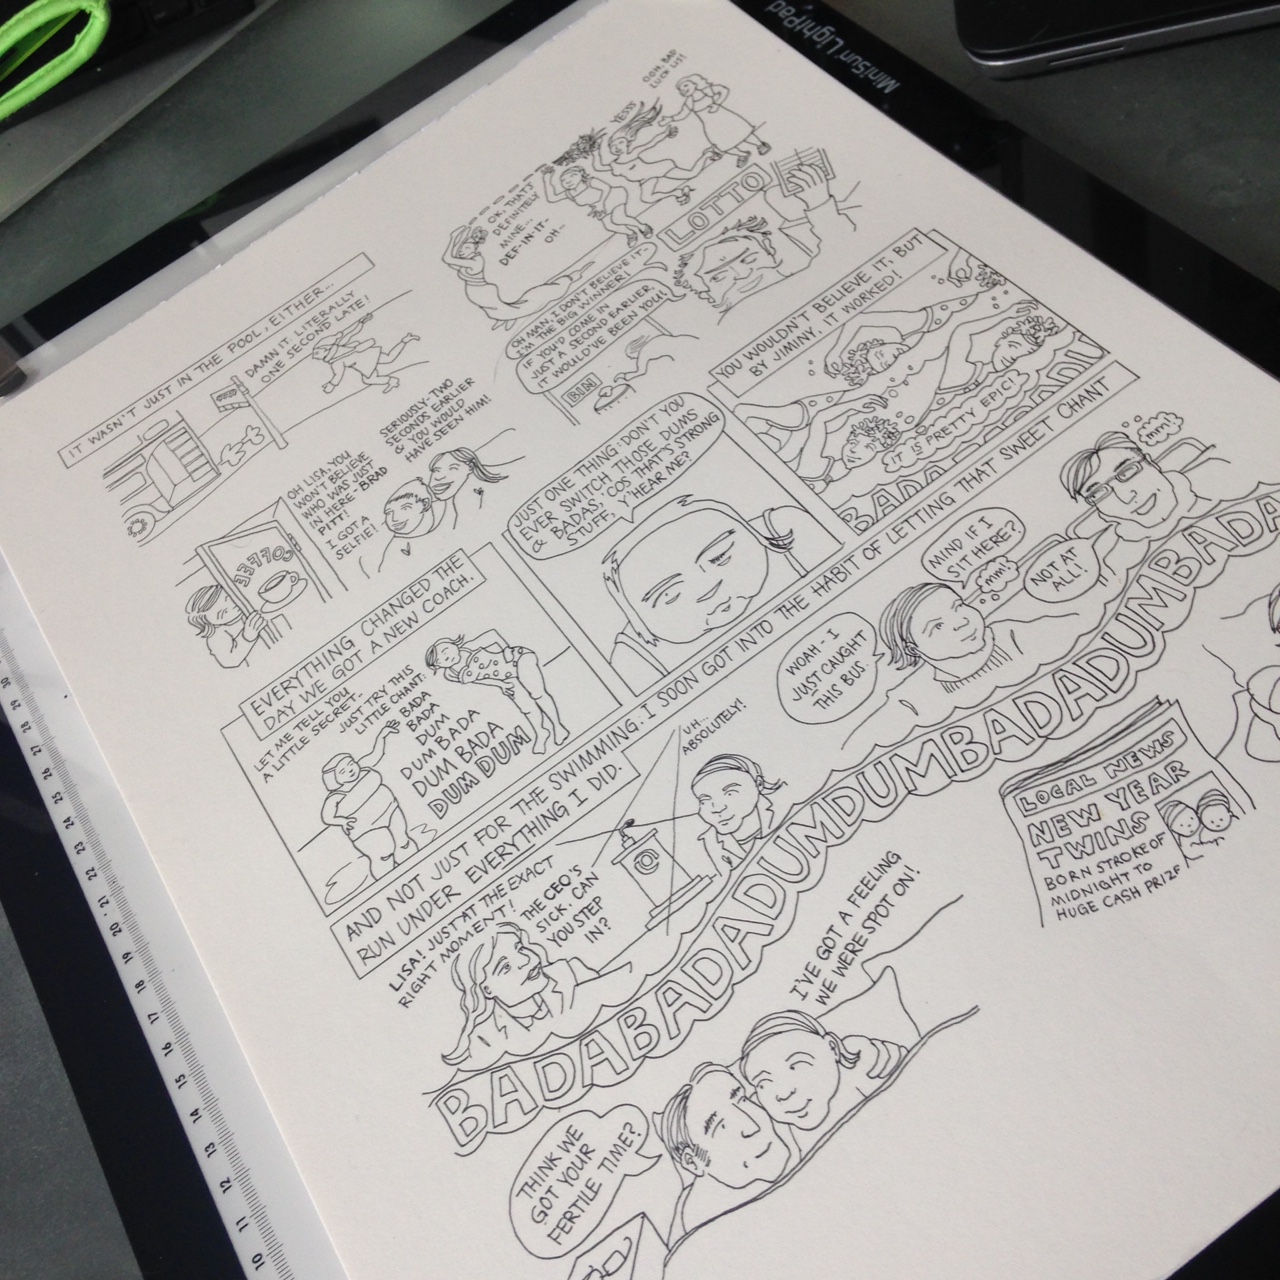 The cartoon I’m working on is line drawings with ink colouring.
First I put down the pen lines. I put the pencilled page on the lightbox, put a sheet of better-quality paper on top, and trace the drawings and frames with pen.
8: Inks
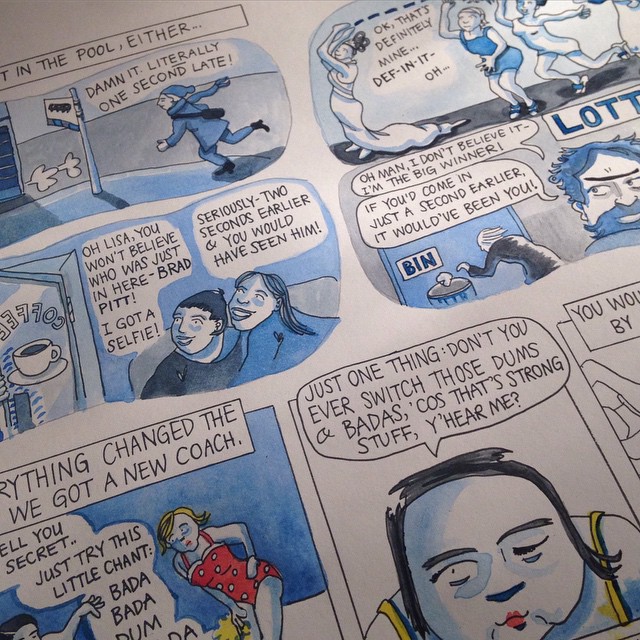 And then I add the colour.
9: Scan
Does this count as a step? I guess so: the cartoon takes on a different format, a digital one. And there’s often more work involved, too: I clean it up digitally, before sharing it online or in print.
And then, finally, it’s done.
The takeaway
No wonder it all takes such a long time! You might frown at all this and call it the death of spontaneity.
I wouldn’t go back to my old ways though… well, unless I suddenly became an amazing artist who could conjure up perfect pictures first time, every time. Or, y’know, on Hourly Comics Day.
This method breaks the process into such small steps that none of them feels too daunting. It also allows for the possibility of something going wrong at every single step.
Measured up your pages wrong? You’ll notice before you start inking, not, disastrously, once you’ve finished. Spill ink all over your page? No worries, you still have your pencilled sheets. And so on.
Multi-step processes like this can look really off-putting, I know. I still blanch at bookbinding or screenprinting, terribly afraid that I’m going to miss out a crucial step, and lose all my work.
For me, cartooning feels different, because I learned and tried out every step along the way. Also, there’s no expensive equipment involved (the most expensive part is the lightbox, but you can easily use a window on a sunny day, or a glass table with a light under it), and no-one to tut at you if you don’t follow a prescribed method.
My method’s changed a lot over the years, as I’ve described, and I expect it’ll continue to do so. How do you draw comics? Give me your tips and who knows, maybe they’ll also become part of my process.